


Barn From the Ground Up: Almost Done
The shedrow barn has arrived, but CJ finds a few unanticipated complications with her permeable stall mats.
In June, we kicked off the building a horse property series covering everything I am researching from the ground up to build a horse property. (Need to catch up? Read Part 1, Part 2, Part 3 and Part 4!) Last week in Part 5, I hit the road for a horse show and got to research more options, and then return home to for the final barn delivery, installation of permeable stall mats, and start to wrap things up. All photos by CJ Millar.
The Shedrow Arrives!
Finally, after much excitement and anticipation, the shedrow barn arrived. I ordered a three-stall shedrow with attached run-in and planned to use the first stall for feed/tack and the other two for my older OTTBs, and have my two warmbloods share the run-in shed. Of course it arrived the same time as the first visit with the new farrier, though fortunately we were just wrapping up. And then, as we were getting it off the truck, it started to downpour. For the second day in a row I was soaked from pop up storms. Sheesh!

American Storage Buildings delivers the three stall + run-in shedrow

The unloading process was pretty impressive – even in a massive thunderstorm!
Permeable Stall Mats
But the barn was here and it was great! Next step was to unpack and install the Stall Savers. This is my first experience with permeable stall mats, and so far they were pretty easy to unpack, lay out on the ground, and it seemed, also install. I did the first stall myself, and there were a few important things I learned.
- If you have OCD, set it aside for this project as you’re never going to get the fabric stall mat to be 100% perfectly centered or flat, but that’s okay because they send you 11×13 for a 10×12 stall so there’s plenty of extra.
- Same with the molding. There’s plenty extra so it doesn’t have to be perfect (really… it took me a little to get over this, but the finished result still looks great and works great).
- Also, same with the screws… they give you plenty of those plus extra washers so don’t panic if you have extra.
- DO make sure you have a sharp utility knife, otherwise you may scare your new neighbors when you scream bloody murder at how hard it is to cut through the stuff (newsflash: it’s not if you have a blade that isn’t a million years old and duller than a butter knife).
-

- Unpacking the Stall Savers, complete with molding and hardware
-

- Laying out the Stall Savers – there’s plenty of extra
-

- Thanks to a dull utility knife, I gave up on trimming the excess for the run in shed and just bedded it for the first night.
-

- After the trimming was done, the Stall Savers came out great!
Once I got new utility knife blades, I was able to finish the other stalls with relative ease. It took about 30 to 45 minutes per stall, and I started in the corner and then because there were metal brackets in the corner, I just pushed the molding as far as I could into the corner and drilled on either side where the metal bracket ended. When I cut the excess material, I folded any extra from the corner behind the molding if there was a small gap and it worked out nicely.
Pros and Cons
For the Stall Savers, I loved that I could install them myself, something that I definitely couldn’t do with traditional stall mats. And I also love that so far (it’s been almost a week now) I’ve added no additional bedding to the stalls or run-in as I also put a Stall Saver in the run-in area. So far I used three bags of flake shavings in each stall, and just had to pick out very little. The urine really does mostly drain through, and the stalls look amazing. To be fair, I also have the shedrow open with the two horses only in for two to three hours per day when eating, so they are cleaner anyway, but even the run-in has stayed clean.
The cons are that ground water does seep up into the bedding after heavy rains. While the base is Lighthoof + gravel, and very good for drainage, we had some massive storms that caused temporary standing water in places there usually isn’t any water – starting with the day before and day of the shedrow delivery! So while this was unusual for the ground here, it is something to be aware of. The mats dried out quickly as did all the bedding in it, but it definitely was noticeable. I would think if you have a high ground water table, that you’d want to go with more traditional stall mats if there’s a lot of standing water. Fortunately for me, that wasn’t a huge issue as it does drain well, we just had some torrential rains.

The first stall was used as a feed room. Fortunately I don’t store my feed on the ground; otherwise it would have gotten wet.
Bringing It All Together
Overall, I am thrilled with the shedrow from American Storage Buildings, and plan to do business with them again. Stall Savers so far are great, but I’ll be using traditional mats in the other run-ins for the other field (still to be built). I found that what worked best in the warmer weather, since the horses only need to be fed once per day, was to feed the older OTTBs and their two companion warmbloods in the late morning. This way the slow, picky TBs could also have some down time in the stalls during the heat of the day and focus on eating and getting all of their grain and supplements. The shedrow had great ventilation and with the dutch doors, it was easy enough to let them see their friends who often hung out in the run-in part, while they caught some midday zzzz’s after brunch. Given the option, they weren’t using the stalls at all at night and preferred to graze then so this was interesting to me and I was happy to work around their schedule.
As for the other field where the easier keepers are, I learned that roping off a few catch pen/feeding areas on either side of the storage shed / barn was a good idea as it also was where the ground was getting the most chewed up from their hooves and I wanted to prevent – not create – mud. It served as both a good feeding area, as well as keeping horses off of those areas the rest of the day and night to let it dry out. Later in the afternoon when I went to turn out the TBs, I would feed the other guys and then by late afternoon everyone had the cooler parts of the evening to go back to the good stuff – grazing and munching on round bales.

You can see the catch pens on either side of the shed/garage, where we want to keep the horses off the grass to prevent mud, that also serve as feeding areas.
Which is another important point – even though we have pasture, and plenty of it, I still put round bales out to prevent overgrazing of the fields and to allow everyone break time from just grass. Since it’s midsummer grass, it’s not nearly the same founder risk as lush spring sprouts, but still good to provide options. And of course all the fields were brush hogged before any horses went in there. All part of good pasture management and herd management!

Round bales help prevent over grazing and also double as excellent napping spots as per 26 yo OTTB Spirit!
And finally, bug and pest prevention is big. Cleanliness is important, so storing feed in the shed with the garage floor and any opened feed in metal bins was a must to prevent rats and rodents from moving in. I’ve preemptively put rat and mice traps around (I prefer the electric kind) to stop any that manage to wander in. Because the feed room in the shedrow as the permeable stall mat, the floor can get damp so it’s even more important to store feed off the ground in a secure place – again the shed/garage comes in handy for this as it’s got a full floor that sits above the ground. Cobwebs are swept up weekly, and stalls and run-ins picked 2-3 times a day (though to be realistic once is more than enough), as overall I am a firm believer that a pound of prevention is worth an ounce of cure and I’d prefer to keep things and neat and tidy as they are today!
So that’s it for now – it’ll be a few weeks until the last finishing touches come together, so check back in mid-August when we’ve got the last two run ins done, and for a final run down of “Barn From the Ground Up” tips so that you know what to do when you take on an endeavor such as this yourself! Thanks, all and happy riding!
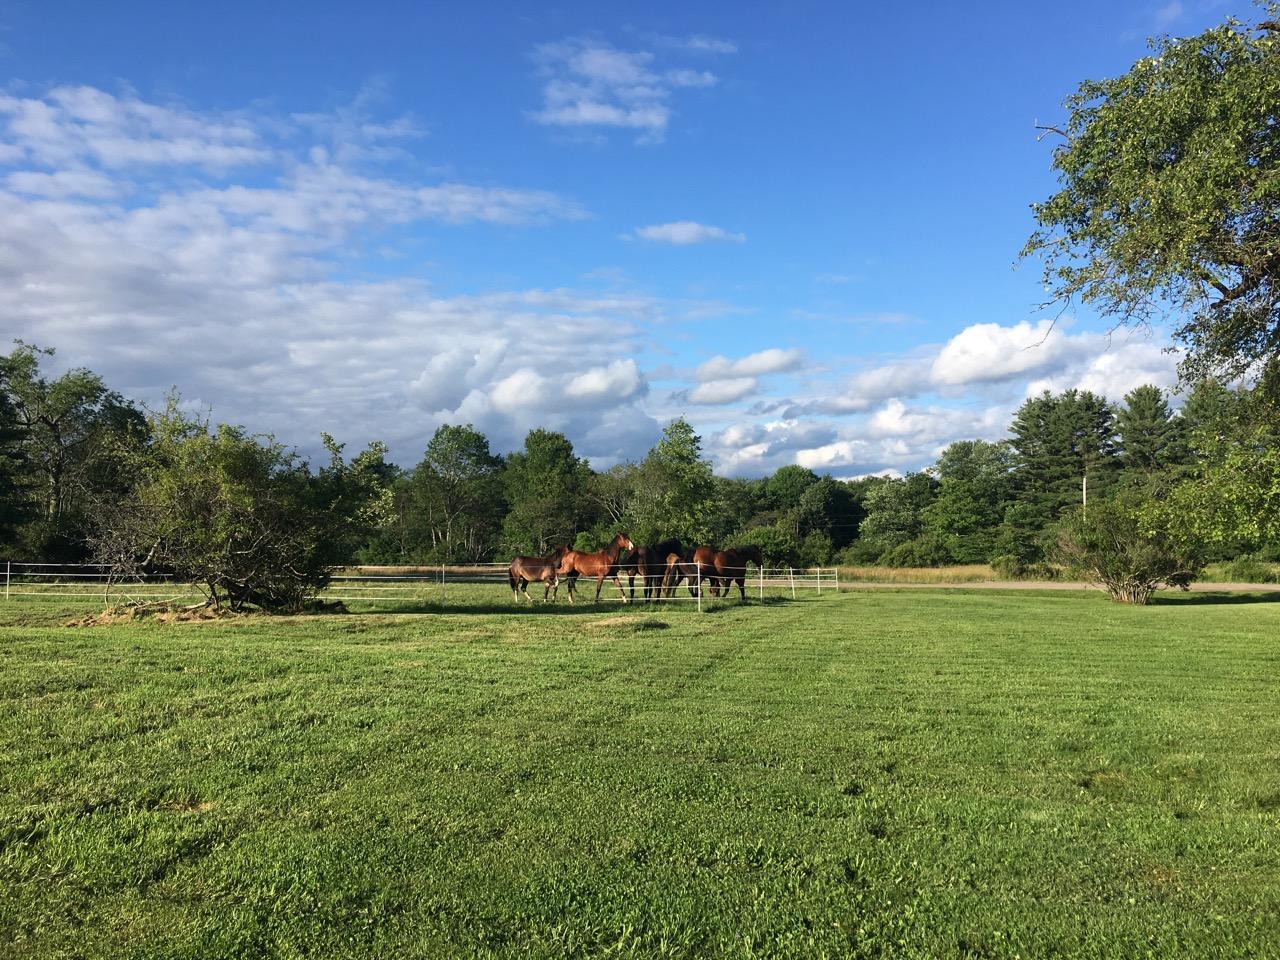
My favorite view is seeing all of the horses settling in and enjoying their new digs!

Leave a Comment