


Thinking Outside the Box Stall: Building a Long-Term Temporary Barn, Part 2
Meagan DeLisle faced a unique challenge: building a barn that could safely house her horses at home that’s also able to be torn down and moved when her current tenancy is over. In Part 2, Meagan shares details on her barn interior and where she chose to save or splurge.
Two months have passed since I shared the first part of our journey into building a barn that was both temporary and would still suit my needs for my herd of four horses. In that time we have not only finalized my little barn oasis, but we have also moved my horses home. Despite the early morning alarms and late nights at the barn, I have been in a permanent state of bliss since bringing my four-legged family together at the end of May. Sure, there have been countless hours of hard work even following the completion of my barn, but it has been so worth it to wake up early in the morning and be greeted by the nickers of my beloved horses.
The Stalls
The interior of my barn is broken up into five sections: three 10′ x 12′ stalls (two on one side, one on the other), a 10′ x 12′ tack and feed room and a very spacious aisle way. After making some modifications to the original structure of our metal barn, I was able to close off one end with a garage door and have plans to install another garage door at the front opening before winter creeps up on us.

Lillie and me with my plethora of pets after we finished all of the stalls in the barn! Photo by Wayne DeLisle
Building the stalls in a way that would be structurally sound yet easy to dismantle when the time comes for us to move was the biggest challenge. Thankfully, Wayne the horse husband extraordinaire was game. Each wall is built in panels and secured to a corner post of the barn so that when we do decide to move to a more permanent base, it will just take a few screws and some strong arms to remove the stall panels and lay them on a trailer in sections.
Throughout the entire process, cost savings was a huge issue for us. We were operating on a budget and as I researched stall doors and metal panels for stall windows, I was immediately overwhelmed by the outrageous prices. Then a friend suggested I look into deck railing from our local hardware store. Compared to the quotes of $400+ I had received on stall dividers, $60 a section for deck railing that looked identical to the metal rails meant for stalls was a no-brainer. Wayne cut the deck railing to fit the spaces we needed them for and voila — they were perfect!
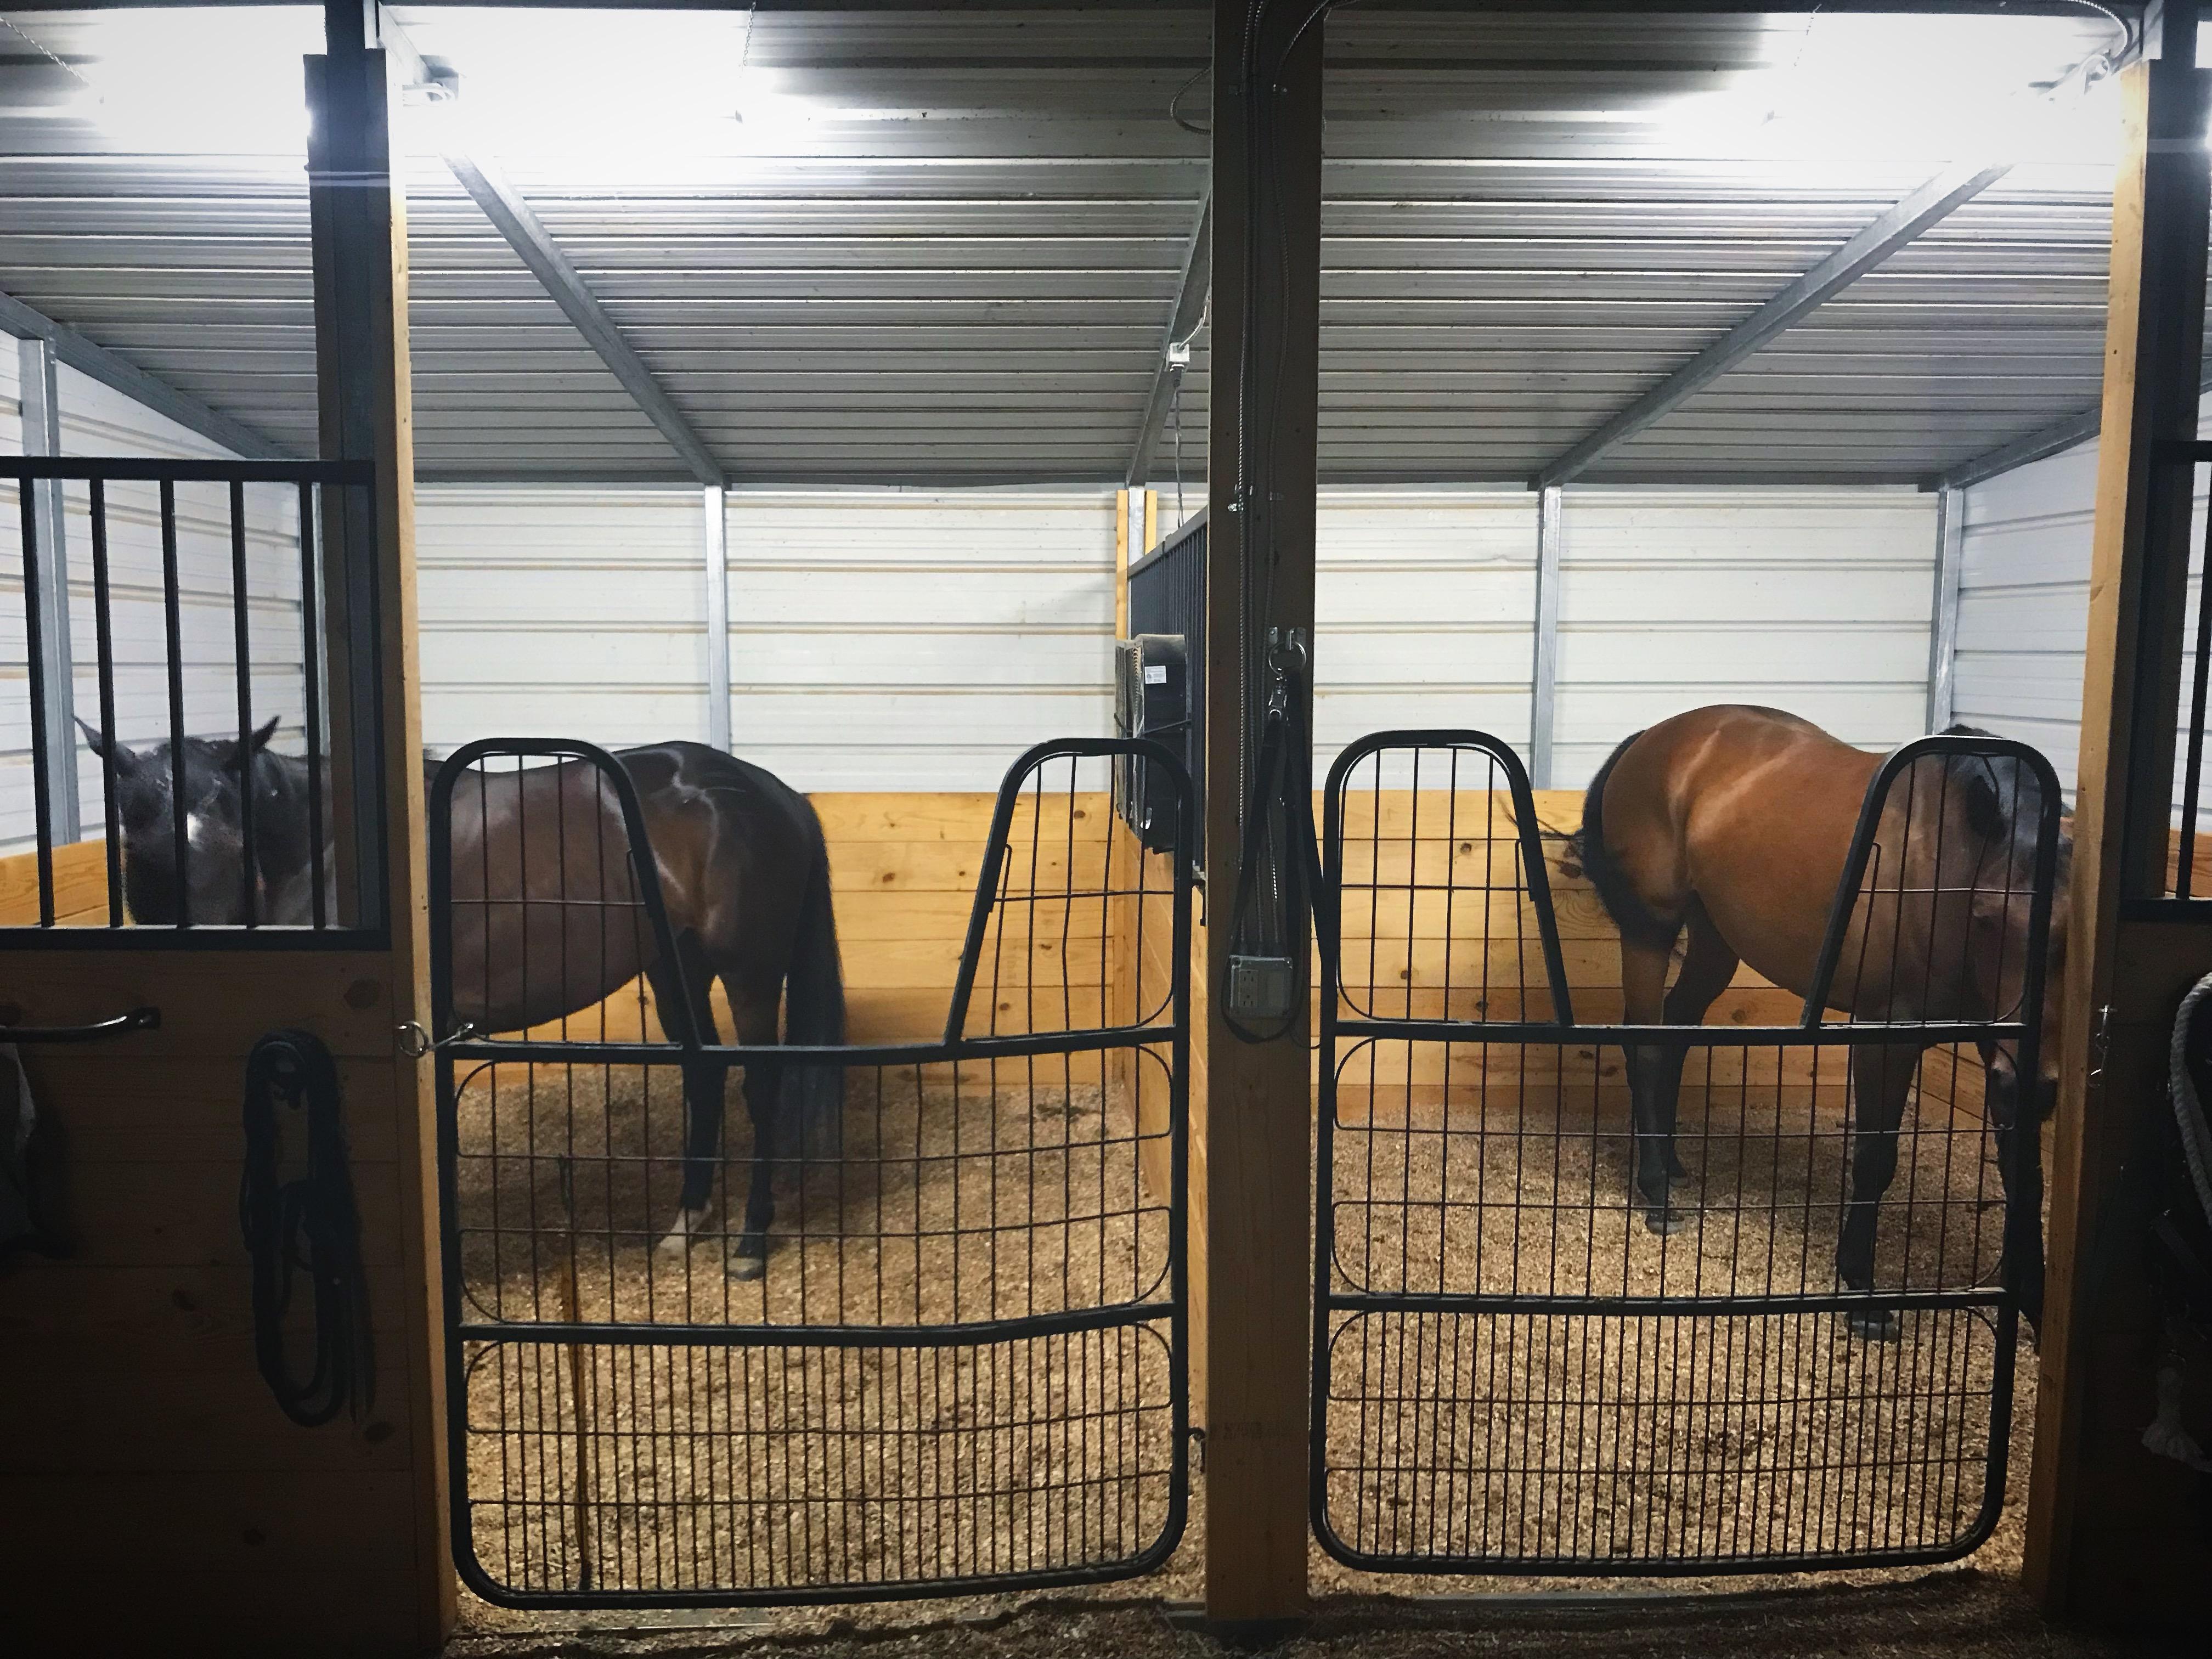
Happy horses. We have since ditched the box fans and added in mounted shop fans in the middle corner of each stall. Box fans are not the safest option for your barn as their motors cannot handle the dust that frequently accumulates in them, posing a potential fire hazard. Photo by Meagan DeLisle
My coach Jen had some spare metal stall doors that swing in and out in her back shed that we purchased for half of the price of new ones. It was a labor-intensive process, but we sanded each one down and repainted with matte black rust-proof spray paint to make them as good as new.
The Tack Room
The tack room is my pride and joy. One of the many things I find relieving after a long day at work is sitting back and polishing all of my bits and bobs in the tack room, so I was adamant on a space that made most of the small floor plan. We closed the entire tack room off with plywood (some of which we repurposed from a building torn down at Wayne’s work because plywood is SO expensive) and put a window in the front to allow natural light.
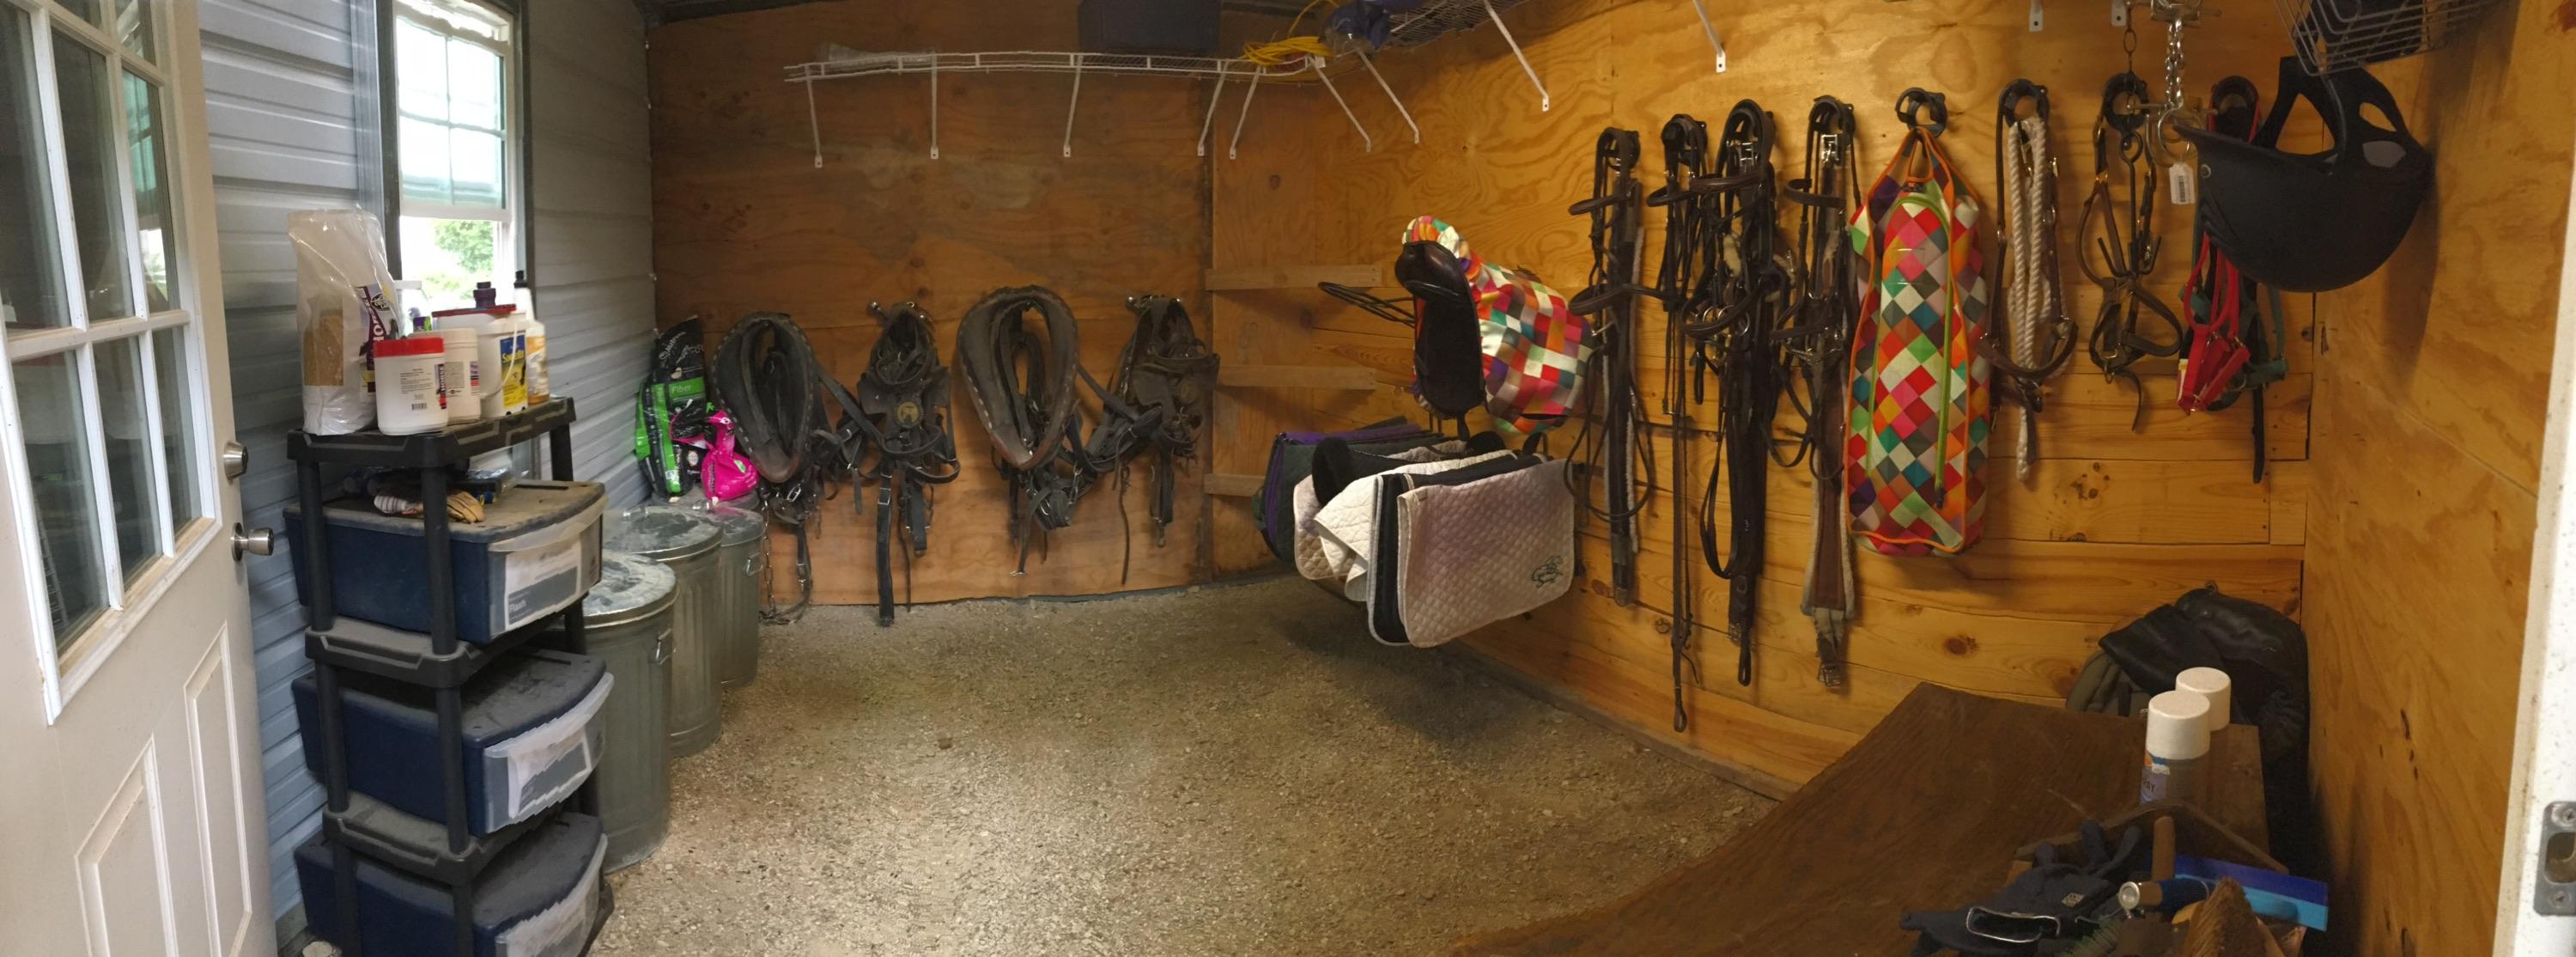
A place for everything and everything is in its place. Photo by Meagan DeLisle
I had so much fun ordering all odds and ends such as halter hooks and saddle racks for my tack room, but those things can add up quickly. I gave myself a budget of $150 for the “accessories” that come with a barn and shopped around on multiple websites to find the best deals. It was a bigger hassle to buy everything from more than nine online retailers, but in the end, I came in under budget and had more parts than I needed to place in storage for if there were an “oops” moment in the future.
We made our way to Lowes and picked up some of the cheap closet racks to line the top of the room and create more storage space for extra fence supplies, blanket storage and more. I opted to store my feed in metal trash cans rather than have Wayne build me feed bins (because let’s face it, he was already running low on time with all of the other projects I had dreamed up for him). Finally, to finish everything out, we dug a trench for our electrical and plumbing.
While I went cheap on most of the barn, the one thing I was not going to skimp on was electrical. We stopped progress on the barn for about a month so I could save up to pay a certified electrician come run all of the wiring throughout. Unfortunately, the electrician blew the budget I had originally planned for but all in all I am happy with the way it played out. I have more outlets than I can shake a stick at which gives me the chance to plug in as many fans as I wanted for my horses.
Wayne ran our plumbing, and after one or two hiccups (or three… or four) we finally had non-leaking, high-pressure water lines at the barn and I could roll up the four water hoses stretched across my front yard that I was using for my water supply.
Storage and Stall Cleaning
In a space as small as mine there aren’t many places to create extra storage. In the beginning I was firm on the fact that I was NOT going to use my third stall as a storage space (I think in the back of my mind I thought I could handle another horse. News flash — I cannot) but I quickly gave up on that plan when I realized we had no proper place by the barn to store hay. I can stash 40 bales of hay in the third stall plus extra feed and shavings and it has definitely come in handy. In the future when I build my dream barn, I will make sure to have a designated spot for hay and shavings storage so I never have to sacrifice the use of another stall, but for now, this works great.

Don’t underestimate the importance of ample storage when considering building your own barn at home. Photo by Meagan DeLisle
One thing we didn’t have an excellent plan for initially was a plan to get rid of our stall waste (aka, manure). I had an area where I began a muck pile but as the days went on that pile grew… and grew… and grew, until one day it had tripled in size and was taking over my side yard. Not only was this pretty unattractive, but it was a huge fly attractant and my doggies loved to play in it. We found an awesome 1940s John Deere manure spreader for sale on Facebook that needed a bit of TLC and brought it home as our project. Right now we are waiting on a replacement part to come in and then we will be able to start spreading our giant pile of poo across our field! This will not only serve as free fertilizer but eventually will put an end to having a manure pile in my side yard.
Have a Plan
Even though we are technically “done” with our barn project and my horses are happy in their new home, I still find little things to do here and there to make my barn even better. Here are some things I highly suggest you plan for when building your own dream barn:
- Pasture rotation: As I mentioned in Part One of this series, we are working with first-year pasture so our grass is very tender. I have had to stick with a strict pasture rotation plan and have to play it by ear if the weather is really dry and hot which puts a damper on my grass. For us, our backup plan is turning my horses out in my backyard. Yes, you read that correctly: we redneck it up at home and let the horses graze while I watch them from my dining room table. The grass is stable and lush back there and now I don’t have to mow, so I see it as a win-win for all parties.

Yes, there are horses in my backyard…. judge me. Photo by Meagan DeLisle
- Backup barn help: Finding reliable barn help to assist you while you are out of town or when you pick up 100 bales of hay is not always easy. I did my research and found some helpers before I even started building the barn. Make sure you pre-screen applicants you do not know thoroughly and always take time to teach people the way you like things done in YOUR barn. My husband pointed that out to me one day: my standards are incredibly high at my barn and I was chastising him one afternoon for leaving the stalls in a state I did not approve of. I had just assumed the boy knew to dig in the right corner because that is where Ty likes to pee, rather than explain that to him. Take the time to train your folks the way you want things done and remove that stress from your life.
- Suppliers: In the beginning I had a wonderful feed store just down the road that I planned on getting all of my feed and shavings from; however as time went on I noticed I was making multiple trips to multiple stores to pick up the extras I needed that they didn’t carry. Additionally, they were religiously out of the feed I needed when my supplies were dwindling and I realized it was time to make a switch. Evaluate all of your suppliers in your area and determine who you want to do business with so you aren’t having to make mid-month feed switches because your feed supplier is out.

Purchasing a white board and writing down everyone’s feed schedule for mornings and afternoons keeps everyone on the same page with what each horse should be fed. Photo by Meagan DeLisle
- Big projects: Barn chores aren’t always the day-to-day. There is fixing fence, hauling hay, mucking dry lots, spraying weeds, etc. Schedule your big projects ahead of time and have everything you need ready to tackle that chore. I am a fan of deep cleaning the barn once a week so Sundays are always dedicated to scraping up extra hay in our gravel paddock, blowing out the aisle way, cleaning up cobwebs and all of the good stuff I may not have time to work on throughout the week.
- Fly prevention: I. Hate. Flies. I never thought I would hate flies as much as I do now that my horses are at home. They are relentless and without a good prevention plan in place, they will harass your horses 24/7. We don’t have the money for an automatic fly spraying system, so we had to come up with other plans. My husband recently became licensed to spray yards for mosquitoes and did some research on what we could spray for flies. There was a noticeable difference days after he sprayed so I highly recommend that you call your pest control companies to look into a similar solution. I also basically have stock in fly spray companies (stop wasting your money on the squirt bottle sprays and buy the brands that come in the aerosol cans, they have a higher permethrin concentration which deters the flies) and muck out my paddocks daily to reduce the fly population.

My new favorite view. Photo by Meagan DeLisle
Last but not least, have FUN with your barn building project. This was such a exciting process for us because I couldn’t wait to bring my horses home. Having them in my front yard and knowing I am solely responsible for their care fills me with pride. You could probably do things on a much smaller scale than what we did, but you have to build what works for you. So go out there, do your research, make a budget and build your barn!
Go riding.

Leave a Comment