


Horse Nation DIY: Blanket/Saddle Pad Rack
De-clutter your barn with this quick and simple budget-friendly do-it-yourself project!
My horse barn is a compact space, with enough room to tie two horses for harnessing or saddling as the rest of the space has been converted to goat pens. I’ve got a tackroom stuffed to the brim with draft horse harness and riding tack, as well as horse, dog, cat and goat feed. The curious, busy mouths of the goats means that a constant buffer of several feet exists around the pens lest they suck in any tack or equipment hanging too close and consume it.
So storage space is truly at a premium — and when I can hang equipment such as horse blankets, coolers and saddle pads against the existing non-goaty wall space, I make the most of it. This prevents objects from piling up in the heavily-used tack room to be used as loungers for the barn cats, and puts my most-used items within easy reach of my working space.
Being a thrifty equestrian, I also like to make my own solutions whenever possible. Browsing my favorite online tack shops, I couldn’t find a basic blanket rack for less than about $30 once shipping was figured in. I’ve already got a homemade blanket rack supporting much more than its fair share of horse clothing in the barn, and I knew it wouldn’t be too hard — nor too expensive — to make another.

Supplies on the floor of our garage workshop, with cameo from my husband’s feet. All photos by Kristen Kovatch.
Supplies:
- Four wooden dowels: I used 7/8″ x 48″ dowels (that’s four feet — plenty of space for at least two blankets per dowel)
- Sturdy cotton or nylon rope: I used about 18′ of a hundred-foot clothesline, leaving me 82′ for other projects. Likely it’s cheaper to purchase only the length you need from your building supply store, cut to measure.
- Metal ring (optional) can also use a clip or snap
Total cost: $19
Step one: drill two holes in each dowel. You’ll be running your rope through these holes, so make sure you choose a gauge for your drill bit that’s the same diameter or slightly wider!
I drilled two inches in from the end of the dowels.
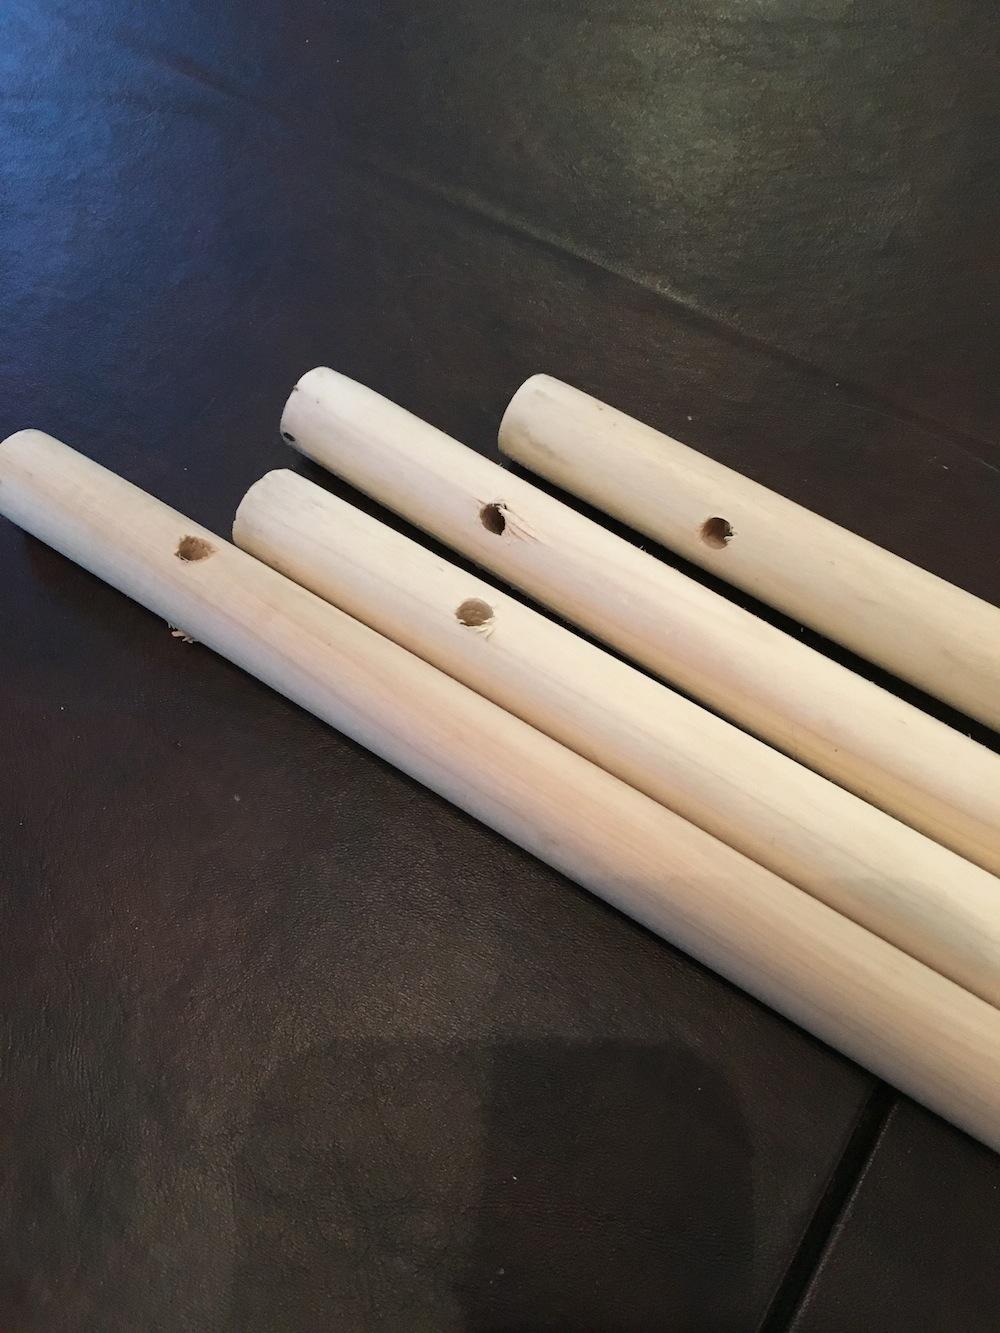
Holes drilled, ready for threading.
Step two: Cut two matching lengths of your rope — I used four-yard lengths which bought me a ton of extra rope at the end; you can get away with three yards for each side. Starting from the bottom of your blanket rack and work your way up, put a strong knot in your rope and thread the long end through the first dowel. For added security on a nylon rope, you can melt the frayed end.
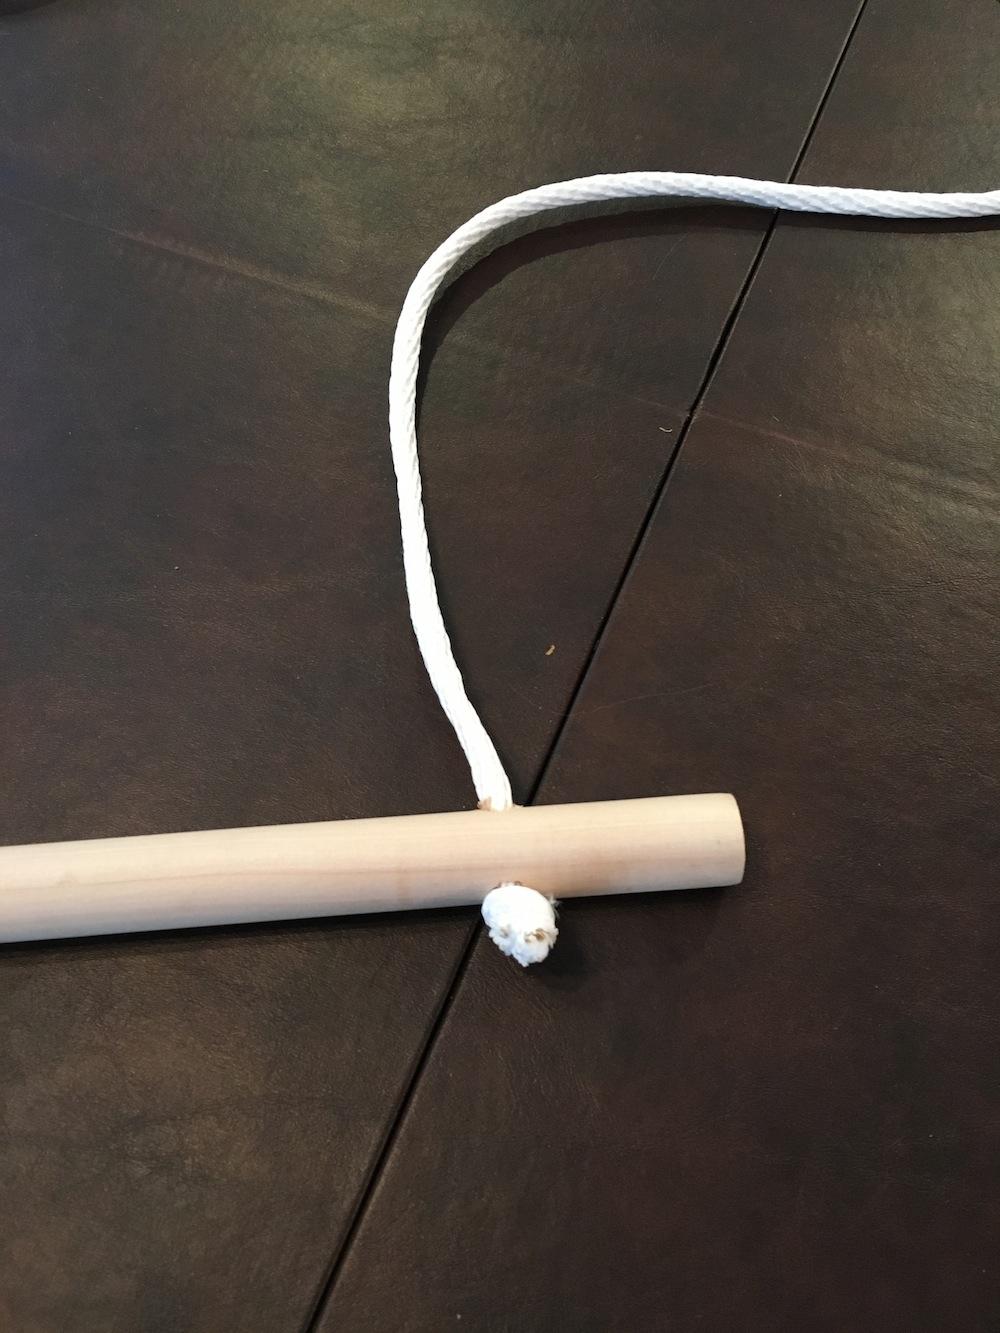
The base knot, which I melted to “glue” together.
Step three: Tie your next knot and add your next dowel. I put a 12″ space between dowels — originally, I actually started with 16″, thinking I was going to buy myself plenty of space to wrestle heavy winter blankets, and then realized that the finished product was way too tall for my wall space!
Repeat until all four dowels are threaded onto your rope.

Admittedly, I’m the kind of person who never measures. When I imagined how crooked this blanket rack would probably be if I didn’t measure the spacing, I found myself a yardstick.
Step four: If you’ve chosen to use a metal ring at the top to make hanging the blanket rack easier, center and tie this in over the top. You can adjust the total height of your rack by the length of the drop between the ring and the top dowel. You can also use a clip or snap here to make hanging the rack even easier, especially if you are planning to use this in a trailer or tack stall at shows and are attaching this to something temporary.

Total time invested: about an hour, including re-spacing my dowels after realizing I had made a monstrous blanket rack that wouldn’t fit on my wall.

Ta-da!
Simple, easy and gentle to the budget! Get crafty… and go riding.

Leave a Comment