


Barn From the Ground Up, Part 2: Foundations and Footing
CJ Millar is living the dream and building her own horse property from scratch — but no dream come true comes without plenty of research, budgeting and hard work! In Part 2, CJ researches her perfect foundation and footing.
In case you missed it, we kicked off the building a horse property series last week with Part 1 that talks about everything I am researching from the ground up to build a horse property at the new location I am moving to. It’s been exciting and things are progressing, and I’m happy to bring you Part 2 on foundations and footing. Enjoy!
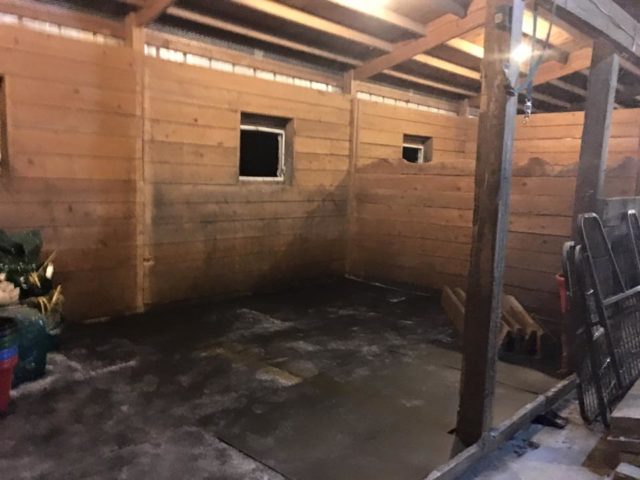
When I say building a horse property from the ground up, I mean it! The farm I am moving to in the Catskills is lovely, with about 30 acres of cleared land ready to go and an old farmhouse that needs some updating but is in otherwise great shape — but no barn. Once I chose the dimensions of the barns I needed, it was time to revisit the footing and base.
Many people just opt for concrete, because it’s common, cheap and easy, but I’ve always had concerns. Not only did my old barn’s concrete pads in the aisleway have massive erosion underneath that actually caused them to shake and move when you walked on them (really, check out the video in Part 1), there’s been numerous occasions of horses slipping and falling and getting injured or worse. The tragic story of Teddy O’Connor comes to mind.
But what are the alternatives? Dirt floors are, well, dirty. And gravel and stone aren’t very comfortable to walk on and can get wedged in shoes, causing soundness issues. With any sand, gravel or dirt base there’s still the concern of shifting and erosion as well, but thanks to help from a client and friend, I learned about Lighthoof Mud Management Panels a few years ago.
Targeted as the permanent solution for mud, Lighthoof was appealing to me because mud was something my current farm had no shortage of. We were on a unique highland swamp, which meant flash flooding from storms, slow-to-drain ground and a very high water table. Pros: we never had to worry about the well running dry. Cons: mud, mud and more mud…
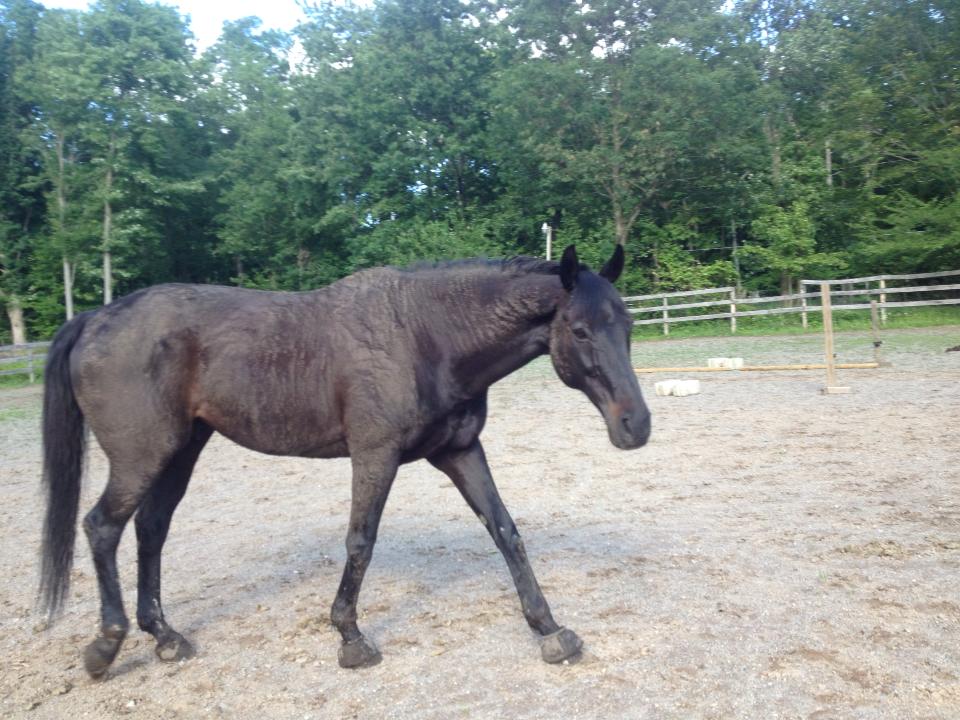
Where there’s mud, horses will find it… and roll, especially before a show. (Photo compliments of CJ Millar)
While concrete seemed like a more permanent solution for the barn base and aisleways, I had my reservations based on past experiences. Several years back, when we got hit with the one-two punch of Hurricane Irene followed closely on her heels by Tropical Storm Lee, the massive flooding did some serious damage and erosion to our barn and stalls (not to mention the rest of my property). Even the concrete shifted, and the concrete aisleway did nothing to prevent erosion from under the stalls themselves, meaning everything had to be excavated and resurfaced. That’s something that was costly and time consuming and I’d rather not repeat. And while drainage ditches and water runoffs can be adjusted, in extreme weather sometimes flooding is unpredictable and inevitable.
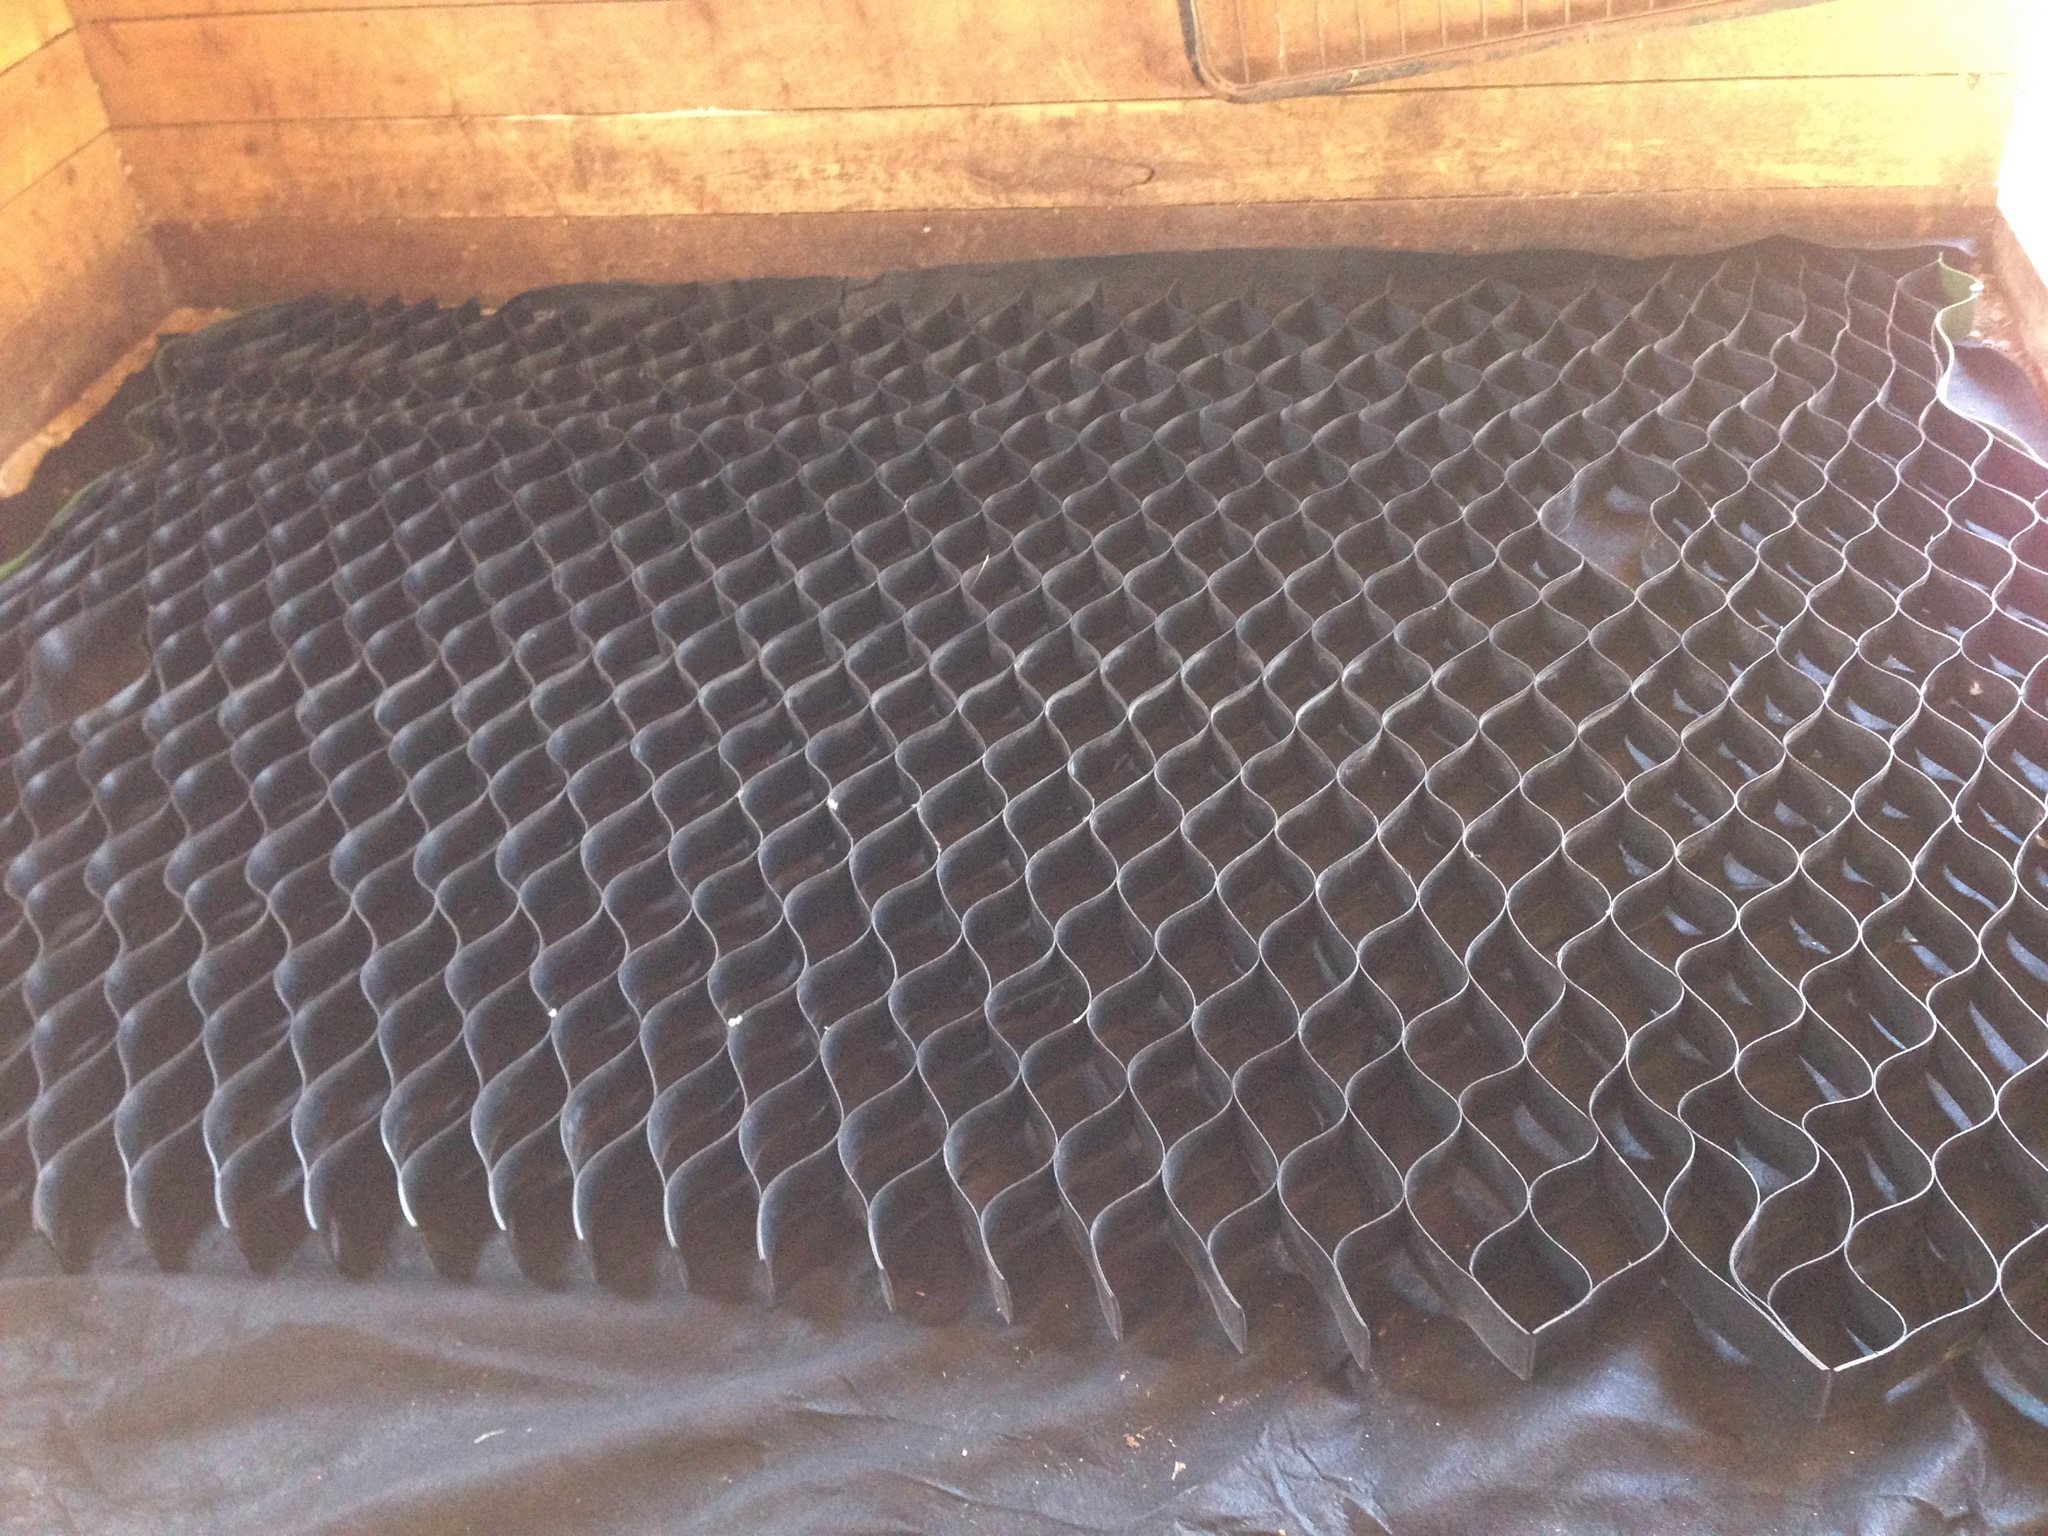
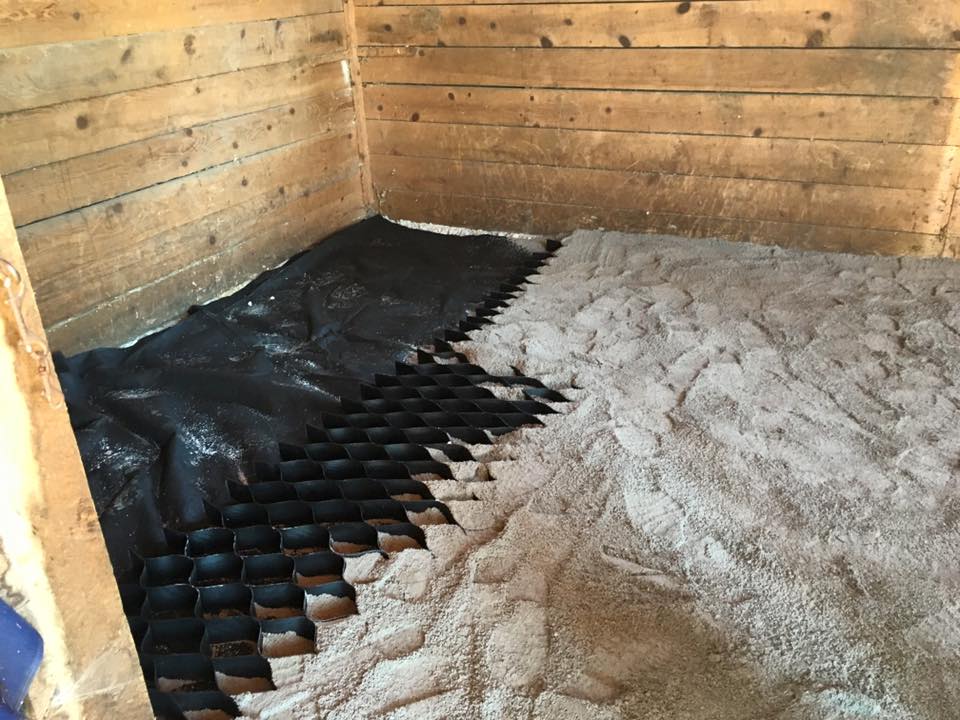
Because the Lighthoof panels are filled with gravel and can be topped with stall mats (permeable or rubber), I started to look into this further. In the past, I used it as the base for the stalls after the hurricane damage, and it had held up nicely, so I asked Kelly, the founder of Lighthoof, if she thought it would work as the entire base for the barn. After discussing how it would work, we agreed a 1′-2′ overage on each side of the barns should be sufficient and I placed the order!
The shedrow didn’t have an overhang to start (for shade/shelter), but it was something I planned on adding on before winter so I wanted to make sure to include that as well in the measurement. And because one end was also a run-in shed, I wanted to make sure that the ground both in front of as well as inside would be stabilized to prevent mud and erosion.

Flooding from extreme weather can cause serious erosion issues for dirt floors and even underneath concrete. Gross! (Photo from CJ Millar, circa 2011 post storms Irene and Lee)
This means for the two barns, measuring 14’x40′ and 12’x40′, with an 8′ overhang to the 12′ side, we rounded up and calculated for a base of 24’x44′ for each. The 14’x40′ barn would eventually be tractor and farm equipment storage, and go right from the fenceline into the field with garage doors on each end, so additional space on each side made sense here. I also wanted to continue the Lighthoof into the field at the entryways around gates and at the end of the barn that was in the field so that until I got a full new run-in shed built, I could also prevent the ground from getting chopped up if I let the horses come inside the one end as a temporary shed.
I was grateful that Kelly was able to lend her expertise and talk through the ideas with me so that we could put this theory to test. While the Lighthoof had been used in stalls before, this would be the first official time it would entirely replace concrete or traditional dirt flooring as a barn base — and we’re both really excited to see how it goes! Here’s a snapshot of resurfacing my current barn from a few years ago for an idea of how it works (hover to read captions or click to view full image):
-

- The stalls showing how eroded they were before we started excavation
-

- Base gravel put in

-

- Stretching the Lighthoof
-

- In my current barn, the Lighthoof worked great as a foundation for the stalls!
-

- Stall mats down, before the middle wall goes back in

-

- Complete and ready with bedding!

So how did this all hold up in the current barn? We actually had some huge storms blow through earlier this week that dumped several inches of rain in just a few hours. The patio flooded, the back room took on some water and of course the barn was a major concern. While the front half of the barn (that has not been excavated since the hurricanes) took on significant water that made it unsafe for horses to be in throughout and immediately following the storm until things dried out, the back half was fine.
For reference, the current barn is a concrete slab aisleway with 12 stalls that are approximately 10’x10′ each. The back half was redone nearly two years ago as shown in the gallery above, while the front half were not. The back stalls were all dry during and after the storm, and showed no visible erosion in the stalls, or outside the immediate perimeter of the barn despite the fact that the drainage around the barn has not been updated in years. You can bet I was thrilled to see this and even happier with my decision to move forward with the Lighthoof as the base for the new barns!
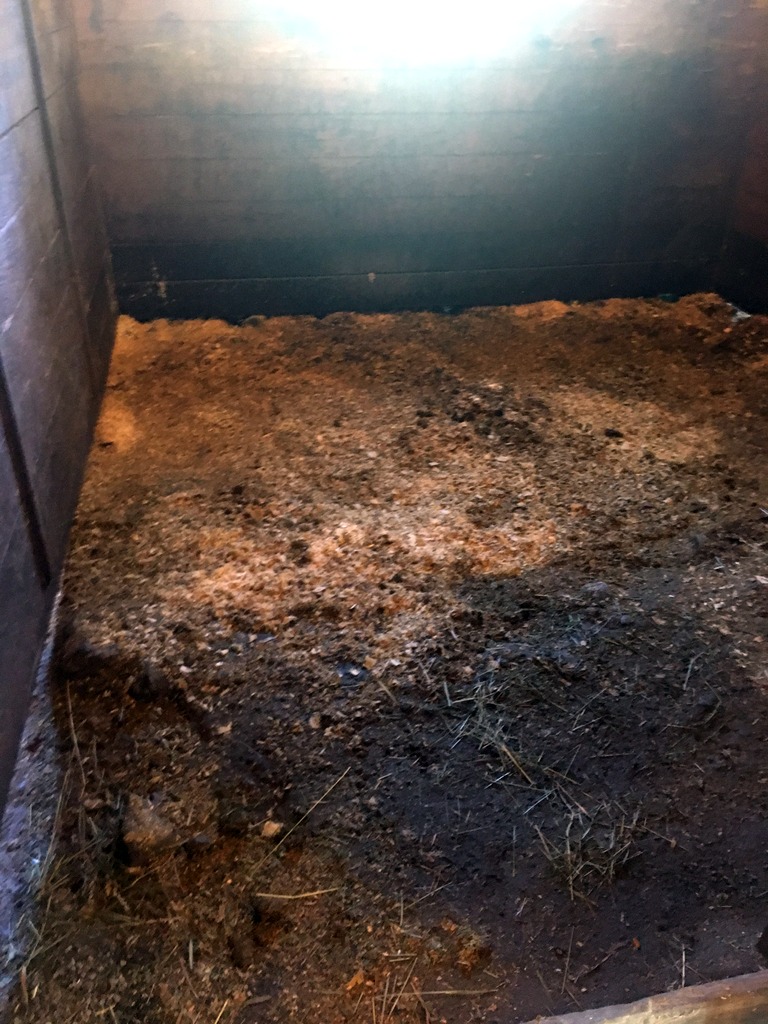
The stalls this week post-storms showing additional erosion. Note the dangerous gap at the left under the wall where a horse can easily get a leg stuck.

After the storms this week, the back stalls that were on a foundation of Lighthoof panels not only remained dry, but had no signs of erosion under or around them and were completely safe to use!
Thank you Lighthoof, I can’t wait to see how the new barns come out. Stay tuned for next week’s update as the first round of deliveries arrive (fencing from Redstone Supply, Lighthoof, and sand/gravel base material) so the contractor can get to work and we’ll talk more about fencing!

Leave a Comment